Everything You Need to Know About Home Biltong Makers
- biltongmakerscom

- Sep 29, 2025
- 3 min read
Enjoying homemade biltong is deeply satisfying—but to get it right, you need the proper tools and techniques. A Home Biltong Maker takes much of the guesswork out of the drying process, and when paired with quality biltong making equipment, you can produce consistently flavorful, well-textured results. In this guide, we’ll walk you through the essentials, reference practical products from BiltongMakers.com, and give you confidence to start your first batch.
Choosing and Understanding Your Home Biltong Maker:
Key Features to Look For
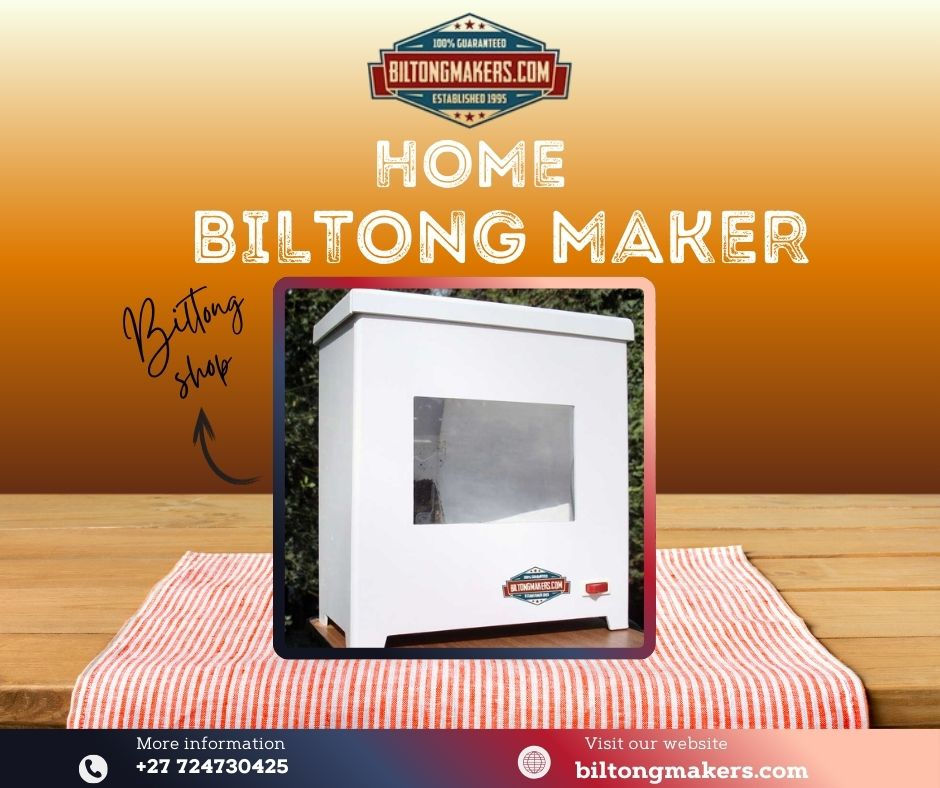
When selecting a Home Biltong Maker, focus on a few core features. Adequate airflow is critical (a fan or vents), along with a gentle heat source (often a low-wattage lamp or light) to avoid cooking the meat. The material should ideally be food-grade ABS or clear acrylic for easy cleaning and visibility. Capacity is another consideration—some units handle just 2 kg (like the “Biltong Buddy” from BiltongMakers.com) while others, like the RNA-5 unit, can manage up to 5 kg of wet meat. Voltage adaptability is also useful if you source from international suppliers (e.g. 110/220 V compatibility). Finally, ease of cleaning (removable racks or parts) and spare part availability should be part of your decision — BiltongMakers offers spare hooks, fans, and accessories.
Types and Models Available
On the BiltongMakers.com shop you’ll find a range of Home Biltong Maker options:
RNA-5 (Standard or Turbo, 5 kg) – a popular model in their lineup.
Biltong Buddy (2 kg) – suited for smaller batches or novices. These units differ in capacity, fan strength, and whether a turbo airflow or more passive drying is used. They also supply accessories like hanging hooks, spare parts, and spice mixes.
In addition, outside of BiltongMakers, other brands such as BiltongMate offer acrylic cabinet designs suited for home counters, with built-in fans and stylish finishes.

Using and Maintaining Biltong Making Equipment
Preparing, Hanging & Drying
Once you have your equipment in hand, you’ll need to:
Cut and marinate your meat stripes (lean cuts, 2–3 cm thick) using vinegar and your spice blend.
Hang the strips on hooks or rods inside your Home Biltong Maker. Leave space between pieces for airflow.
Run the drying cycle—most home units take 3 to 6 days depending on thickness and desired dryness. Some “turbo” or fan-assisted models speed up the process slightly.
Check doneness by feeling firmness. A good home batch is firm on the outside but a little softness inside. Cut a test strip if unsure.
This process is greatly simplified with good biltong making equipment: sharp knives or slicers, quality hooks, and consistent spice mixes all improve your end result.
Cleaning, Care & Longevity
After each batch, always clean your Home Biltong Maker thoroughly: remove hooks and trays and wash with warm soapy water, then dry completely. For internal fans or bulbs, check periodically and replace any worn parts. Keep spare parts handy—BiltongMakers.com stocks many accessories and spares to support your setup.
Store the unit in a cool, dry place when not in use to avoid warping or damage. A well-maintained biltong box can last many years, especially if the materials are durable and meant for food use.
Final Thoughts
A Home Biltong Maker + good biltong making equipment like hooks, slicers, and quality spices gives you everything needed to turn raw meat into a savory, protein-packed snack in your own home. BiltongMakers.com offers a solid product range — from their compact Biltong Buddy to higher-capacity RNA-5 units — along with accessories and spares.
Start with a smaller capacity box to get the hang of it, use fresh lean meat, maintain patience through the drying, and clean your kit thoroughly. Soon you’ll be crafting biltong that rivals or even surpasses store-bought versions.


Comments